

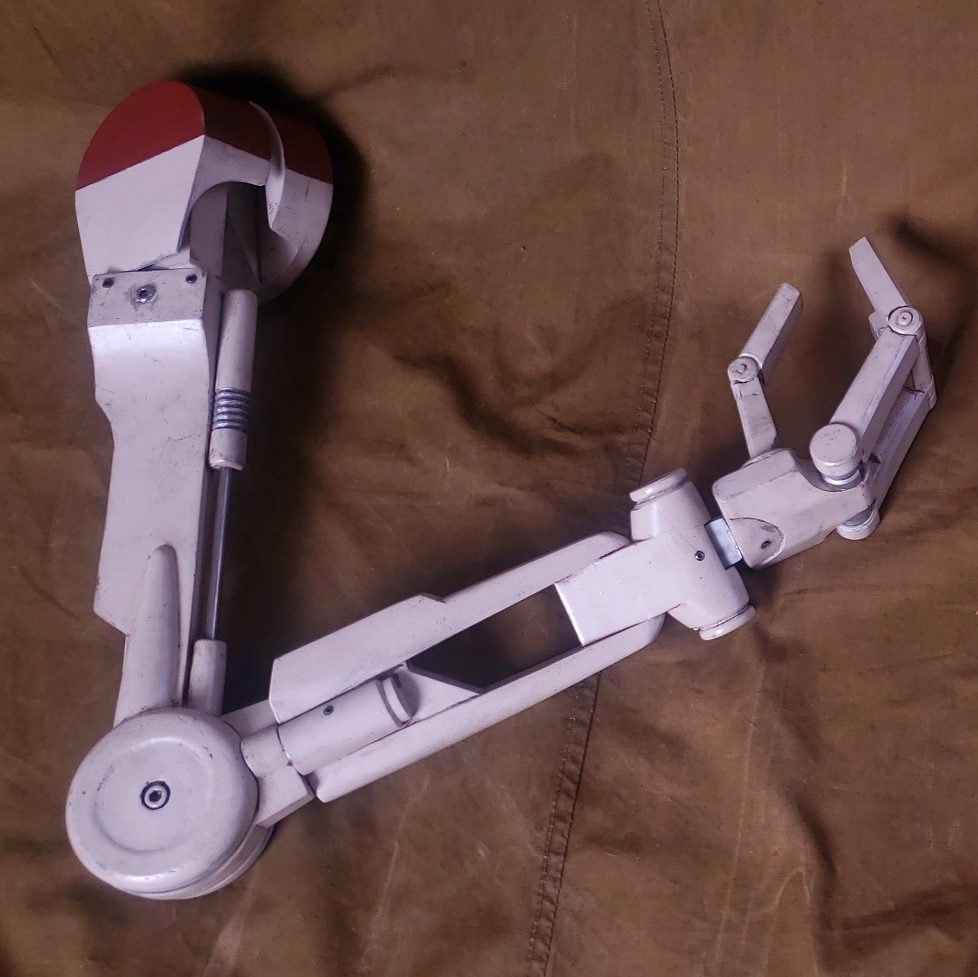
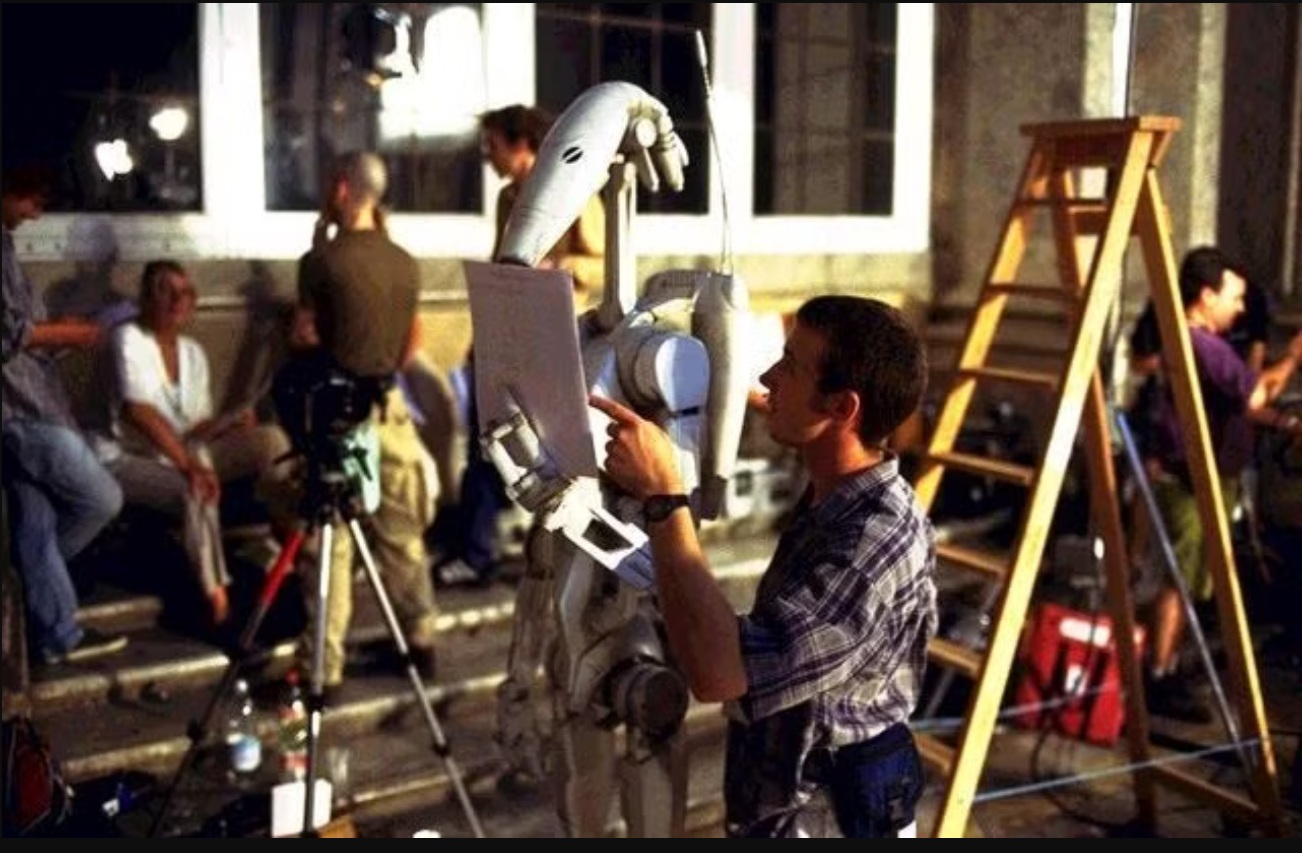
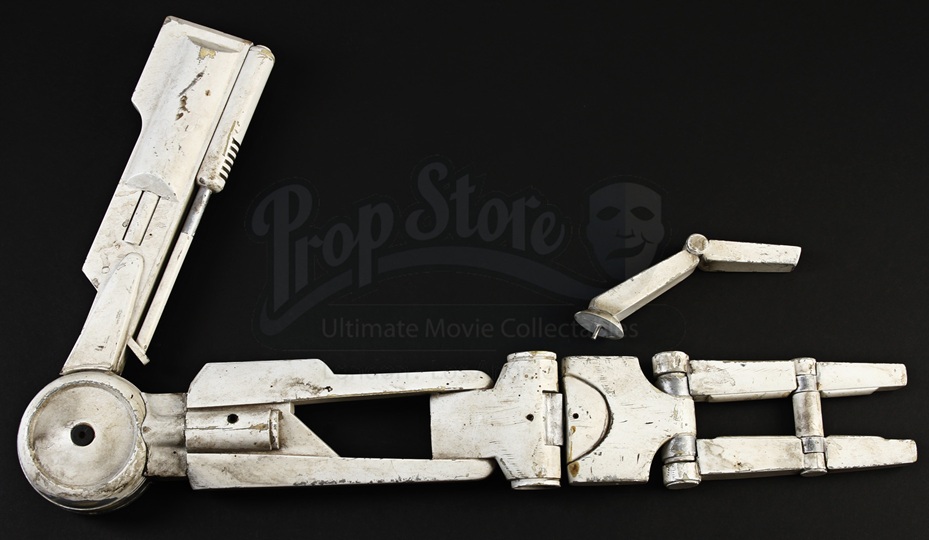
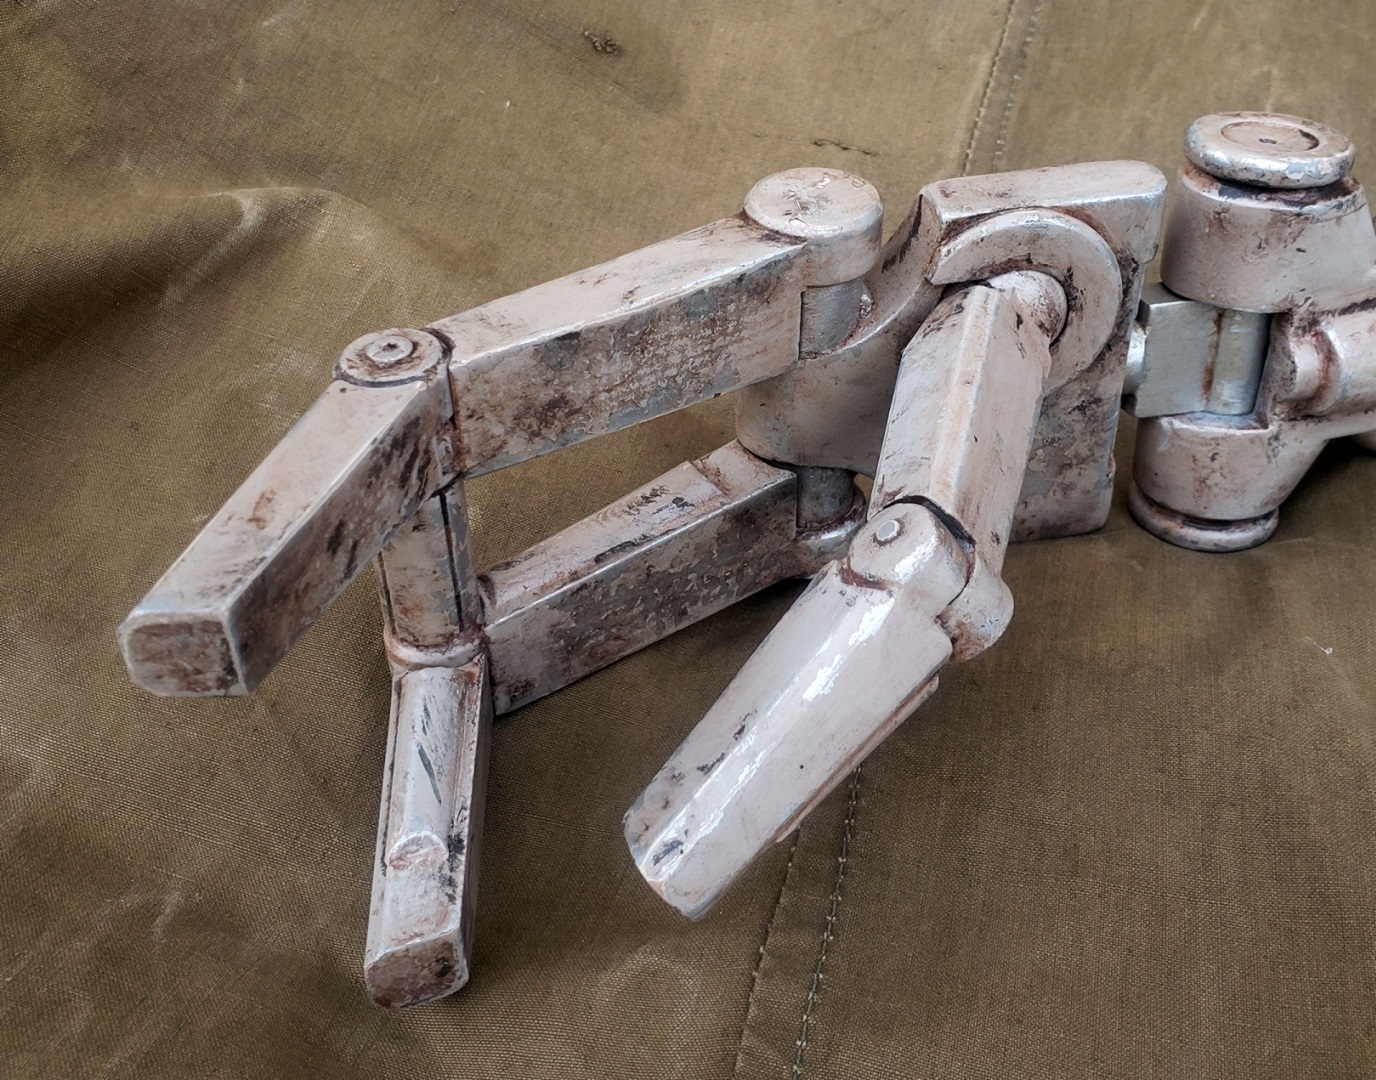
It’s back! Credit for this renovation goes to eagle-eyed site reader S.C., whose critique (back in October 2020 when I first unveiled this project!) that my droid arm looked more bone white than the onscreen droids was absolutely valid! Since the onscreen droids appeared different colors in various scenes, and I was using as my primary reference a physical prop (apparently) from the film, I chalked the discrepancy up to onscreen lighting. However, looking at the auctioned arm and making-of photos, it’s clear that the physical droids created for Episode I were an entirely different color from the CGI droids in the final product – presumably, they were meant as lighting references for the CG artists:

Regardless, a big factor that kept this project from better screen fidelity in the first place is the color inconsistency between the various B1s in Episode I – or at least (as usual), the color grading differences between various editions of the film playing havoc with our perceptions!
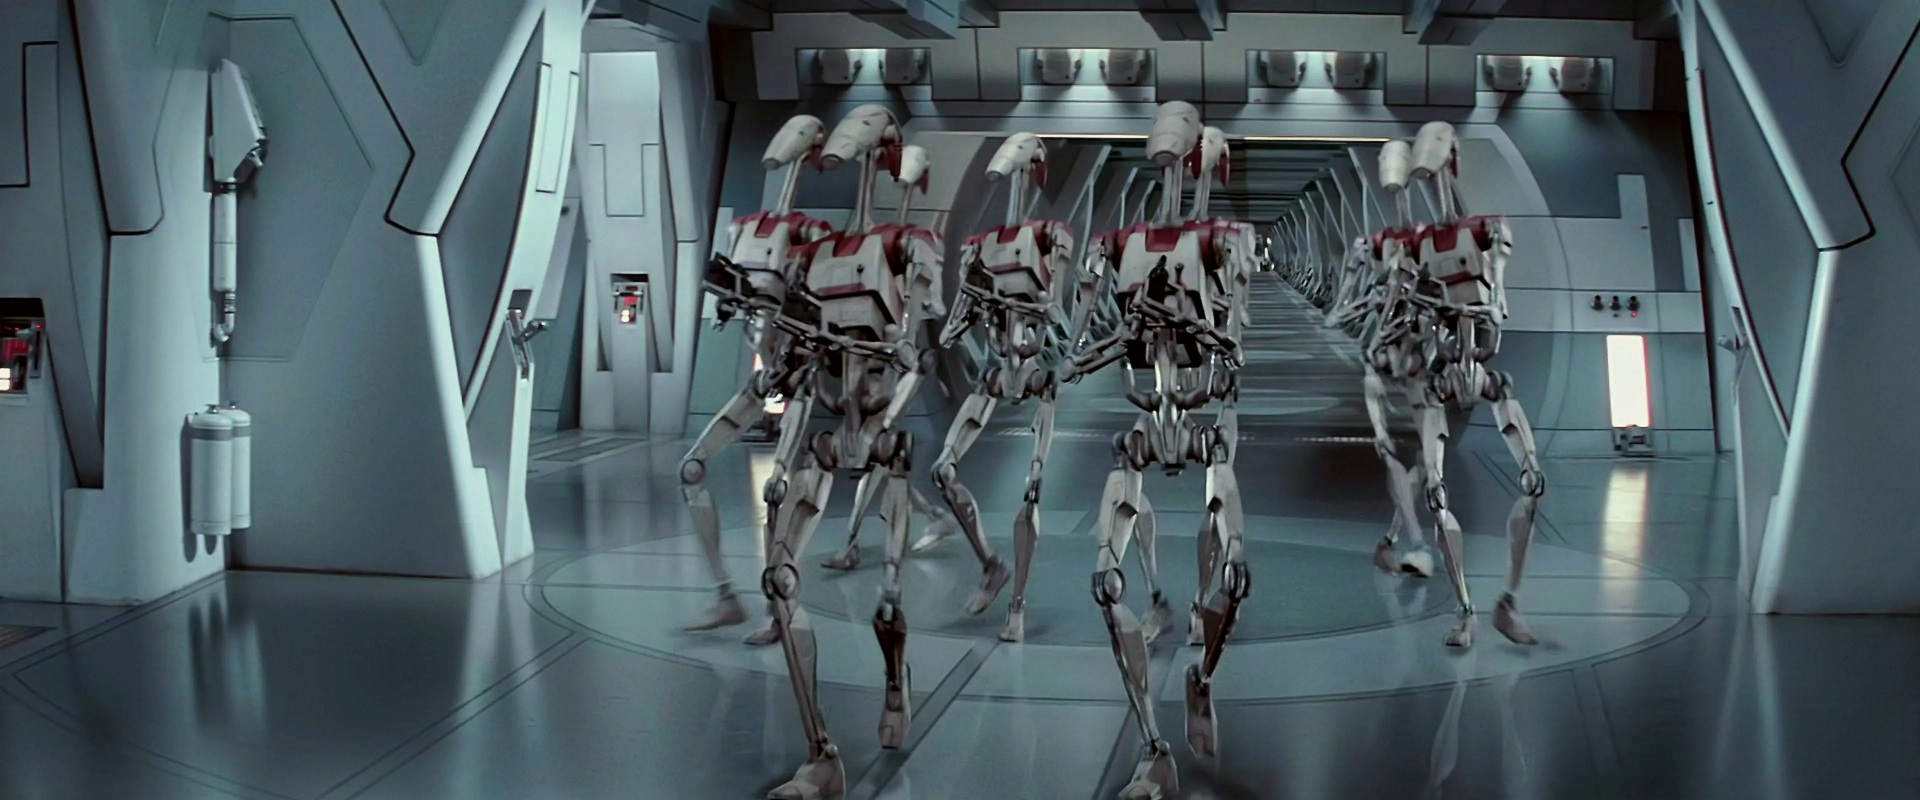
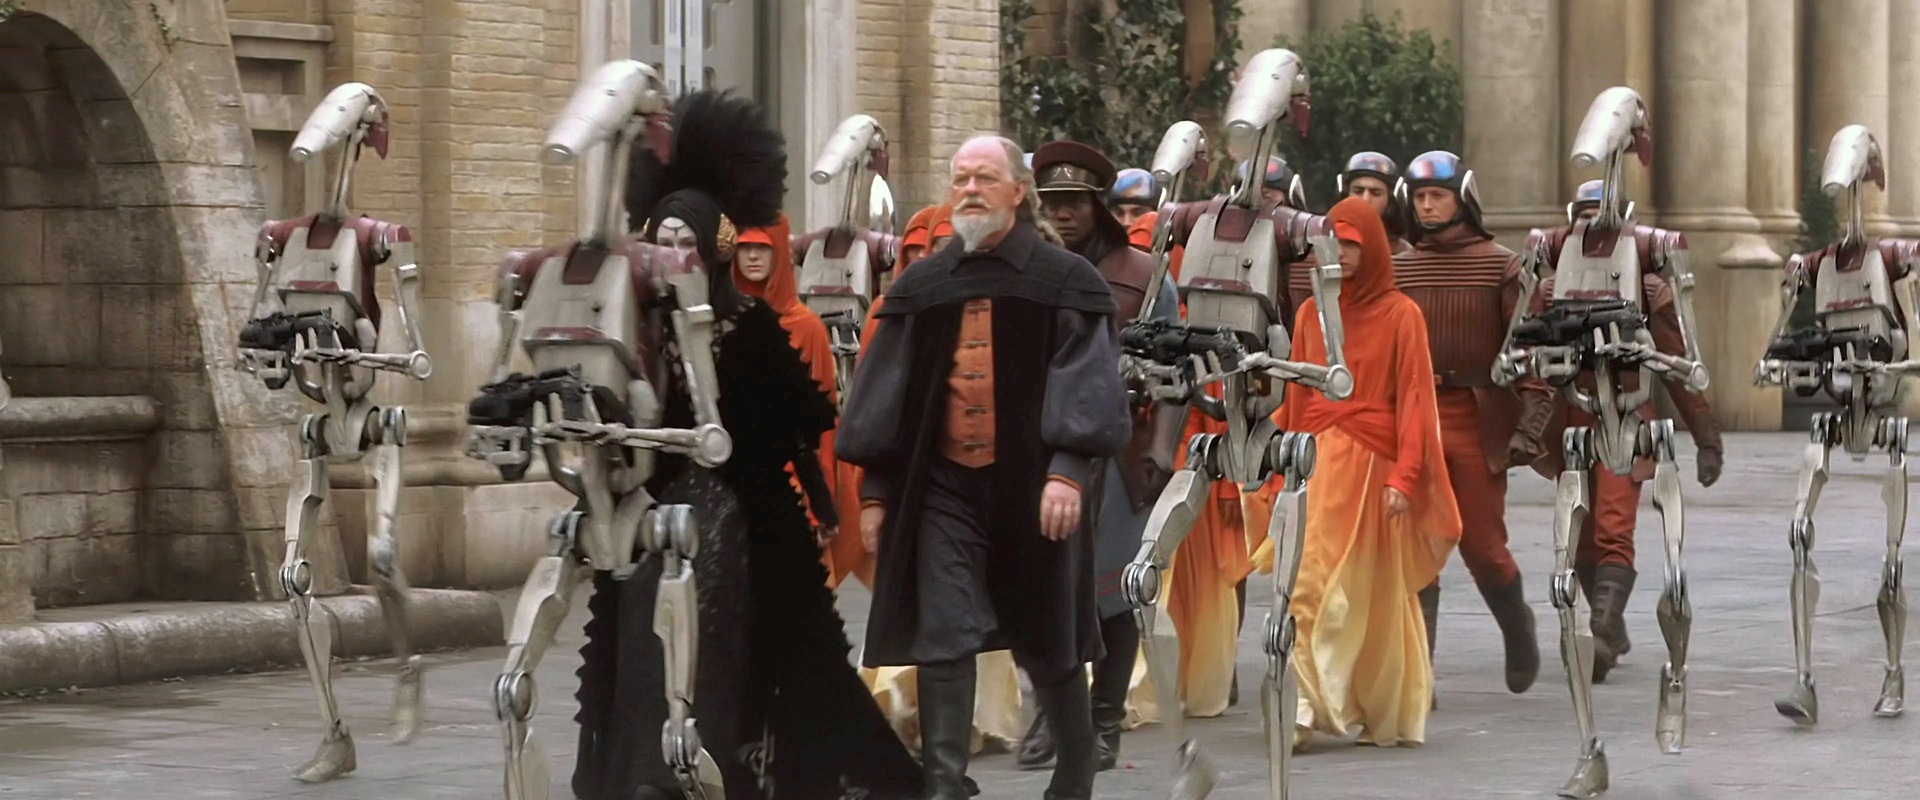
Just compare these two shots of the same scene, and the effect that the slightly cooler lighting of the first has on the droids’ color:

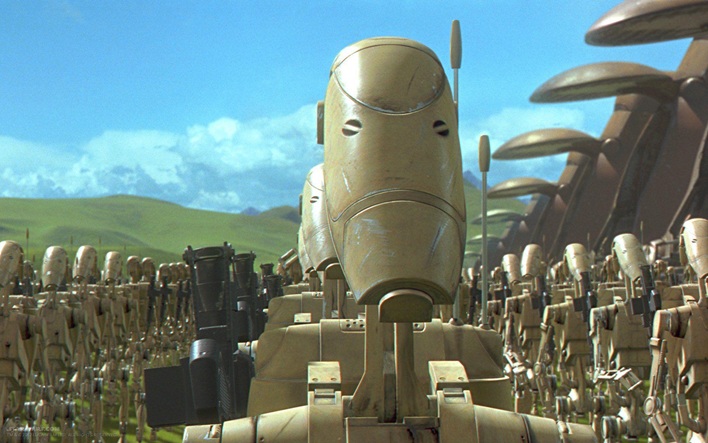
Or compare how they look on Naboo, in a naturally-lit (slightly overcast?) setting:
However, the standard infantry clanker (whether practical or CGI) seen in Theed and at the Grassy Plains battle seem like a much warmer hue:


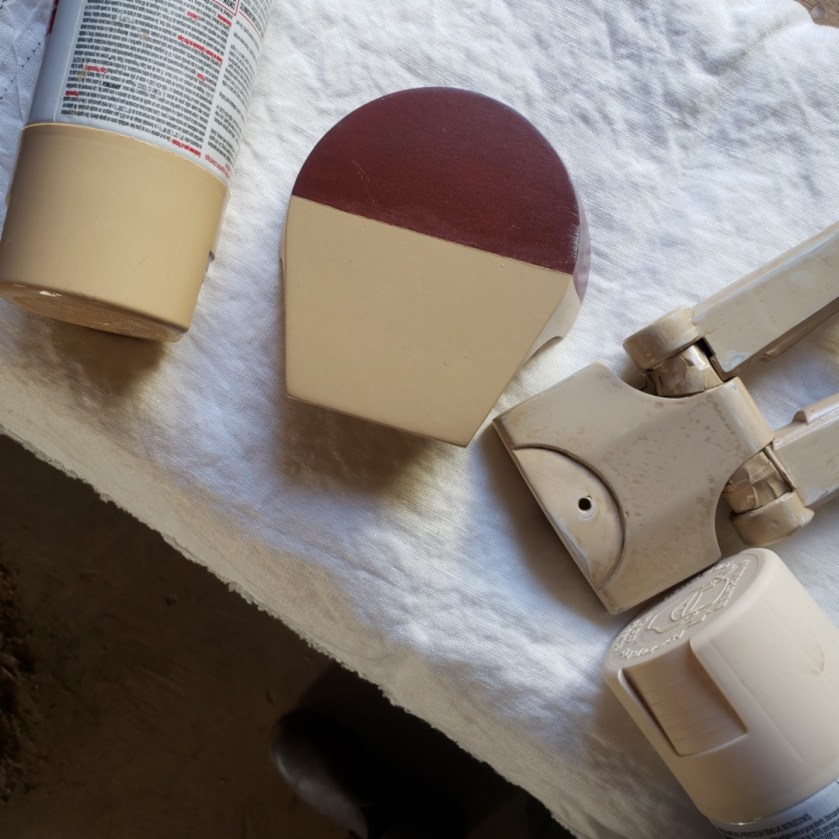
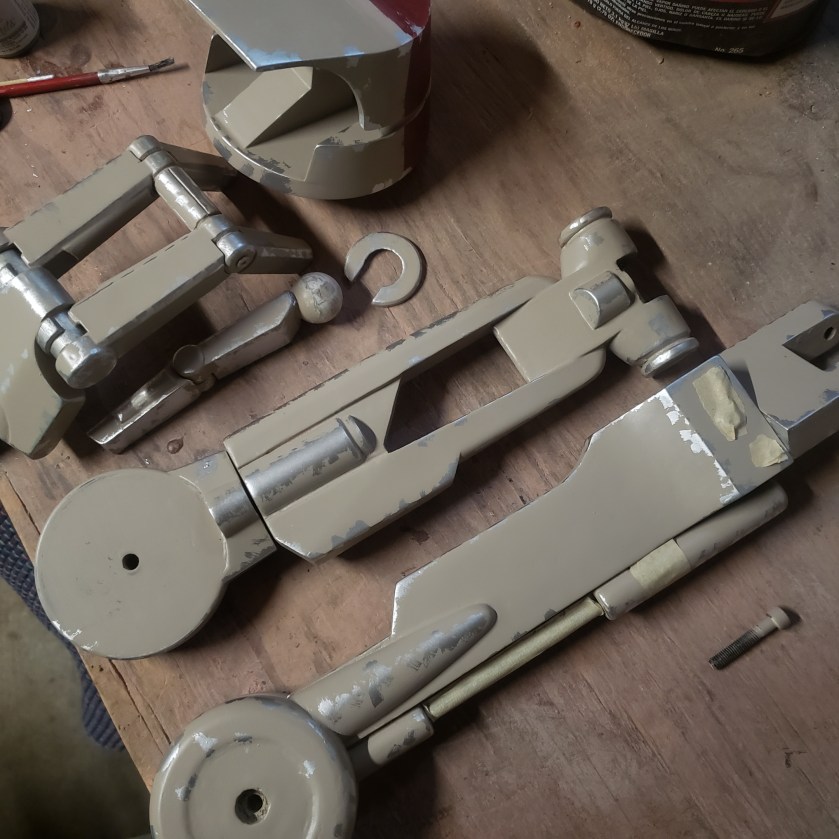
My original 2020 paintjob used Rustoleum’s ‘Smoky Beige’, which we’ve established was too cool for the onscreen droids, so I set out to see if any other Rustoleum colors were a better fit. ‘Sand’ (below left/center) is fairly close to the infantry color (if perhaps a shade dark)…but it only came in a gloss coat. I discovered that lightly sanding it lightened ‘Sand’ up to be pretty much dead-on, but there was no way I was going to hand-sand every surface of this arm! I next tried ‘Ivory Silk’ (bottom right), but found it was much too yellowish out of the can, while ‘Heirloom White’ (not pictured) was an even closer match to the PropStore arm.
After reading about some discontinued ‘Sahara tan’ from some expensive brand, I was starting to despair that a readily-available correct color would prove elusive. Thankfully, someone on the B1 Builders facebook group said that they had found a new Rustoleum color (‘French Beige’) that seemed like a perfect fit. I ran down to the hardware store and sure enough, judging by the cap it looked just about right – and best of all, it came in satin, not matte or gloss!
As long as I was upgrading colors, I figured I might as well do the raspberry Security livery too, since the first version was just my best approximation using acrylics. Luckily, I didn’t have to spend another six months testing colors because it turns out Rustoleum’s ‘Claret Wine’ is a dead-ringer for the Security droid details.
I was all revved up to spray away, but I needed a game plan. My first paintjob was mostly influenced on the physical auction arm, which appeared to use mostly grime and washes for weathering. For the second go-around, however, I wanted to really lean into the onscreen look and the ‘heirloom’ history of this piece, with more physical dings, worn edges, and paint chipping. Instead of trying to spray the whole arm with a metallic layer (because metallics are always fiddly to paint over), after laying on a base coat of the French Beige, I brushed silver enamel on the areas where wear would appear (edges and high spots), extending a little beyond the size of the final chipping.
Then it was time to bust out the toothpick and my favorite no-budget masking material: good old yellow mustard! After letting the mustard masking dry and going over it with a few thin coats of French Beige, it was time to scrape off and reveal our paint chips (always super satisfying!). As it turns out, mustard and light-colored paints are perhaps not the best combination, as the mustard will stain the paint! (It’s not super noticeable after the rest of the weathering but still something to be aware of – next time I need to mask some paint chips under a light color, I’m giving toothpaste a try).
With the primary painting out of the way, it was time to weather with the usual acrylic brown washes. After clearcoating these, I decided I had gone a little too heavy at first on some spots that were less likely to accumulate weathering. After another delay as I puzzled out the best path forward this without going back to square one, I decided to wet-sand these areas down with 1500 grit sandpaper, and then give them a quick patdown with brownwash to blend everything back together. I still think some areas are perhaps a little too weathered (the hand especially), but it generally seems to have worked – and of course I have to remember that weathering will be less apparent at distance, so I try to err on the side of over-weathered up close than the alternative.

For reference, I was agonizing over color choices in early ’22, discovered French Beige and laid down the base coat the following May (of ’23), but didn’t get around to the masking & chipping until that August, then probably another year before I initially brownwashed everything only to be unhappy with the weathering (fall ’24), followed by another year delay before finally sanding it back (sometime last fall?). Hey, nobody ever said crippling perfectionism was a path to rapid turnarounds! 🤪
OH YEAH – paint colors aside, the other big bottleneck came from the hardware itself! The pin that I made (when converting the ball-in-socket wrist joint to a screen-accurate one) back in ’20 started coming apart (a result of not enough longitudinal strength and a Frankenstein combination of materials, go figure). This meant it was finally time to dip a toe into an arena I’ve mostly kept at arms’ length – 3D Modeling! I figured a basic shape like this would be fairly easily to replicate in TinkerCAD, so I made it my New Years’ Resolution to sit down with my calipers and some tutorials to see what I could come up with:
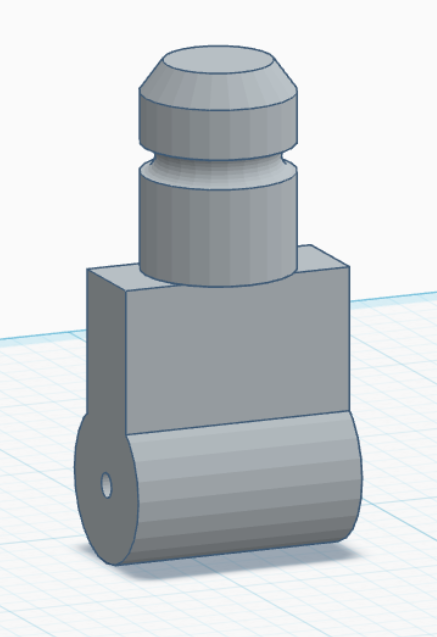
Suffice to say, I’ve caught the prop modeling bug and while I’m definitely not about to get into 3D printing myself (at least not as long as I still have a great taxpayer-funded makerspace down the road!), I have been able to make some frankly insane progress on a couple of projects I’ve wanted to do for yearrrrs now….hopefully I’ll have something to show off later this year!
Long story short, despite a really nasty Winter, when we had a break in temperatures in February I was finally able to spray, weather, and clearcoat this final piece of the B1 arm and get this years-long saga wrapped up! Whew!
Well, how’d I do this time around? Who else has a glacial, drips-and-drabs workflow? Any ideas for what kinds of topics I could use such a prop to interpret at (hypothetical) galactic events? Come discuss with us at the SWLH facebook group, or drop a comment below! See you next time!
Thanks to my readers! Writing, photographing, and editing a writeup like this takes a lot of time and energy (no ChatGPT here!), so if you’ve enjoyed reading and would like to see more project breakdowns on the blog, please consider supporting my work via ko-fi, or with a small donation below! If you can’t give, please share this post or site with your friends! Thank you!
Make a one-time donation
Make a monthly donation
Choose an amount (US dollars only – unfortunately, I cannot currently accept Republic credits 😉
Your contribution is greatly appreciated and will help me continue to bring you this kind of in-depth material! Alternately, you can support my work via ko-fi as well.
Your contribution is greatly appreciated and will help me continue to bring you this kind of in-depth material! Alternately, you can support my work via ko-fi as well.
DonateDonate monthly