
In one of my previous entries, I concluded by saying “when the flavor of the world is ‘no visible fasteners’, then cover up your darn buttons.” However, for some folks that may be easier said than done; if you like the idea of having an outfit be sans visible-fasteners but find the idea of how to actually make it happen a little overwhelming, then the next couple posts are for you!
Adding the ability to hide zippers or buttons to your toolbox is a major level-up, especially for those outfitting an Original Character. Off-the-rack items can be great for dressing a ton of far-background characters, or creating a suggestive ‘everyday bounding’ look, but if you’re after a 100%-in-universe-legit look, off-the-rack can only take you so far. I hope you’ll note how our main characters almost always wear custom-designed garments, which may still be reminiscent or incorporate elements of familiar/off-the rack pieces, but usually tweaked just a little to give it that timeless GFFA flavor.
In this post, we’re going to show you one method to create a button-free appearance on an upperbody garment by sewing a very basic cover panel over our buttonholes. Then, in part two, we’ll learn to hide buttons by ‘genderswapping’ our garment. What’s that all about, you ask? You’ll just have to wait and see, but for now let’s get started!

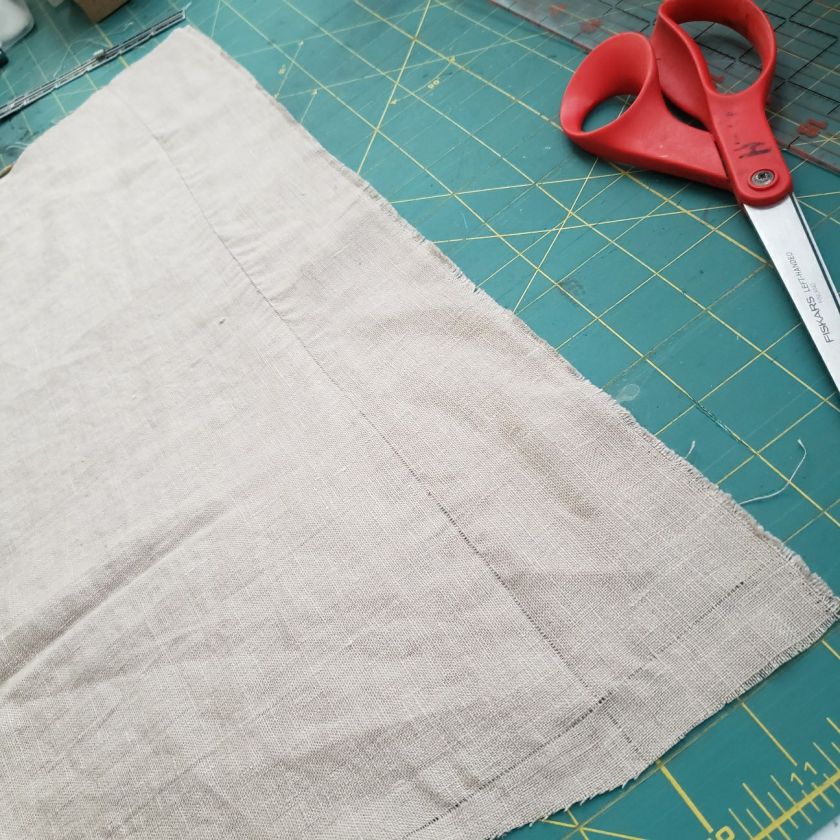
To illustrate these methods, I’m using this 100% linen button-up top that I found at the thrift shop for a few dollars; I was really more interested in fabric-mining the matching skirt it came with.
As you can see, it buttons using a right-over-left ‘female’ closure. While the jury is still out on this tradition’s origins, the most popular explanation is that it’s a remnant of a time when women would be dressed by servants who were typically right-handed—men’s clothing still uses a left-over-right closure, as men traditionally dressed themselves.
This post’s method of button-hiding will retain the use of the buttons to do the actual fastening, but keep them hidden behind an added panel of fabric; this is ideal for garments that you plan on wearing closed (this is the same method I used on the Henley collar for my Mk1 Rebel partisan kit.)
When it comes to what kind of fabric to use, I find it’s ideal to use something that matches your garment as closely as possible in terms of color and texture. The contrasting colorblocked look may be popular with fan-makers but as it’s underrepresented in the majority of our in-universe primary sources, it’s best to avoid it—follow the rule, not the exception! Key to creating an iconic SW look is the use of generally-single-color garments—as George told John Mollo, “I don’t want people to notice the costumes”, so it stands to reason that a good GFFA garment should effortlessly blend into the background, not be vying for the viewer’s attention. If your custom piece is more than two or three colors and includes extraneous details that shout “look at me!”, consider who it’s really for – is it to help you authentically embody the Star Wars aesthetic and setting? Or is it to let your audience know that what they’re looking at is (ostensibly) SWarzy? /soapbox
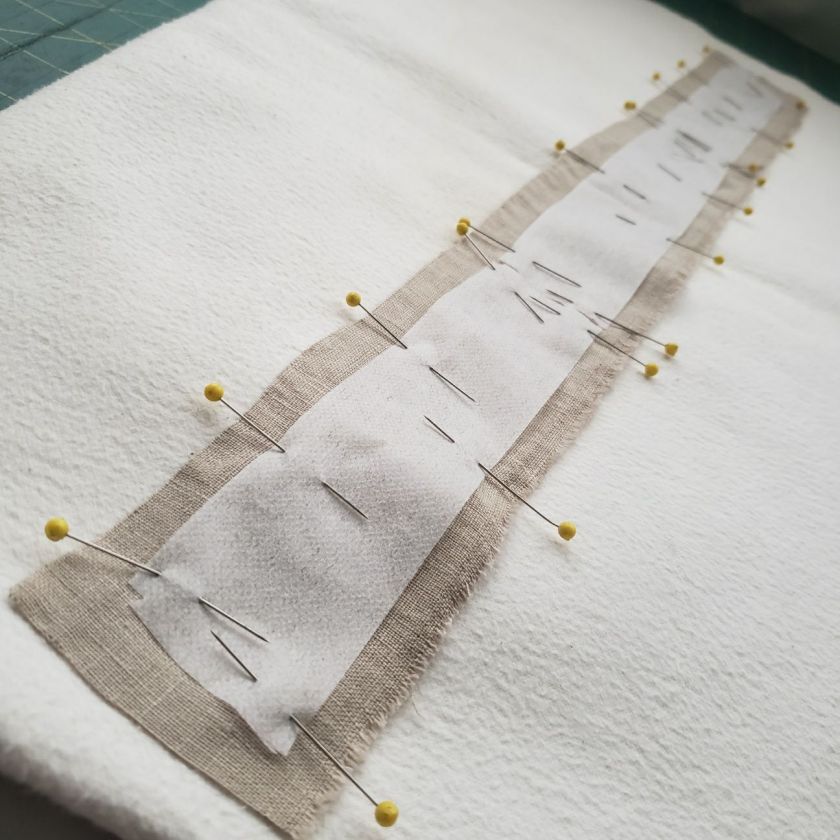
Let’s begin by laying out the material for our flap. First we’ll need to measure the length and width needed to cover the buttons, then add a seam allowance—the strip that determines how far from the edge you’ll sew your seam. The button strip on this shirt is 1-5/8” wide by 19-½” long, and I’m going to use a 3/8” seam allowance, so we can add ¾” (3/8” x 2) to both the length and width, for a total size of 2-3/8” wide x 20-¼”.
To make sure our strip is a true rectangle, I like to pull a thread, as described in my schemagh tutorial.
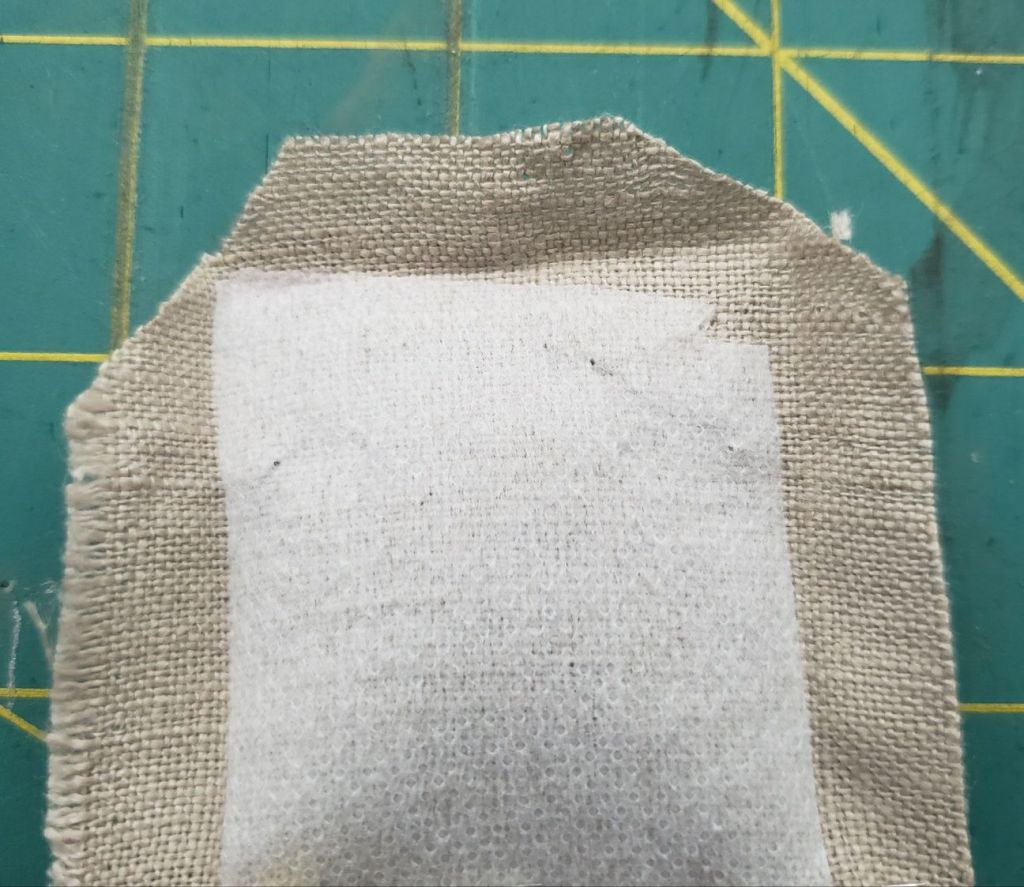
Once you’ve pulled your threads, go ahead and cut out the panel. If your material is on the thin side, you can add fusible interfacing to stiffen it and give it a little more ‘body’. To do so, cut a strip the size of your original measurement (i.e. don’t include the seam allowances).
(I’ve used three smaller strips, but that’s because I’m a stingy bastard and this is just a demonstration piece!) Just follow the instructions on the interfacing; aside from making sure you have the ‘sticky’ side facing the right direction, it’s hard to mess up (basically, pin in place, steam the edges, take out the pins, and steam the rest at a higher heat under a damp cloth).
Once that’s done, you can pin your seam allowance under (towards the interfacing if you used it), and then press with the iron. This makes sure the edges of your panel will be nice and crispy when the time comes to sew it on.
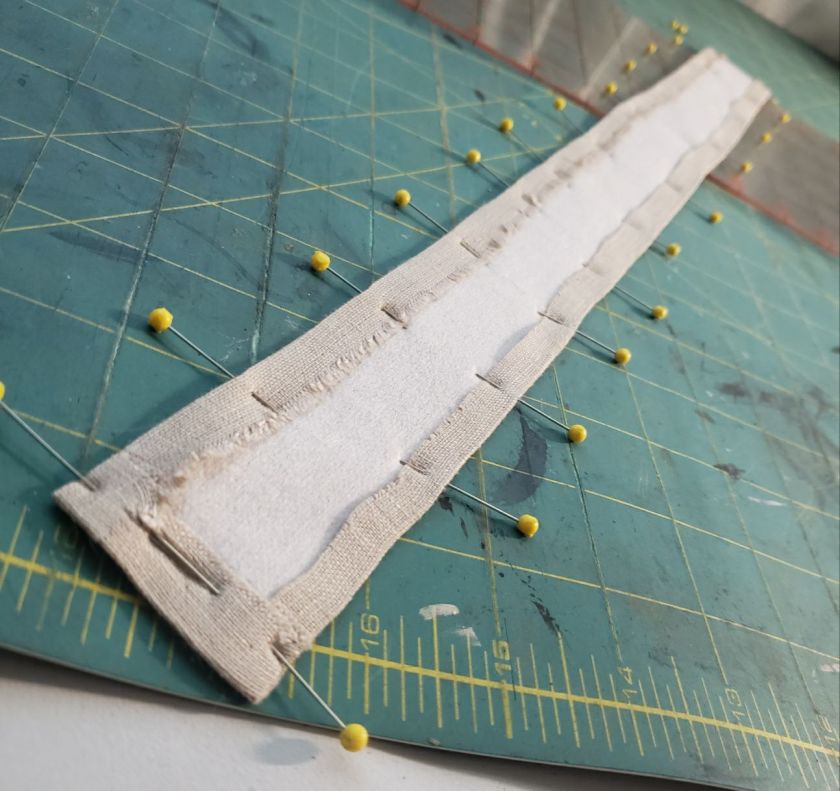
If you look at your corners, you’ll see that there are FOUR layers of fabric, which (depending on the material and your sewing machine), can be a little tough to sew through. We can make this easier (and look more professional) by clipping the corners to avoid excess bulk.
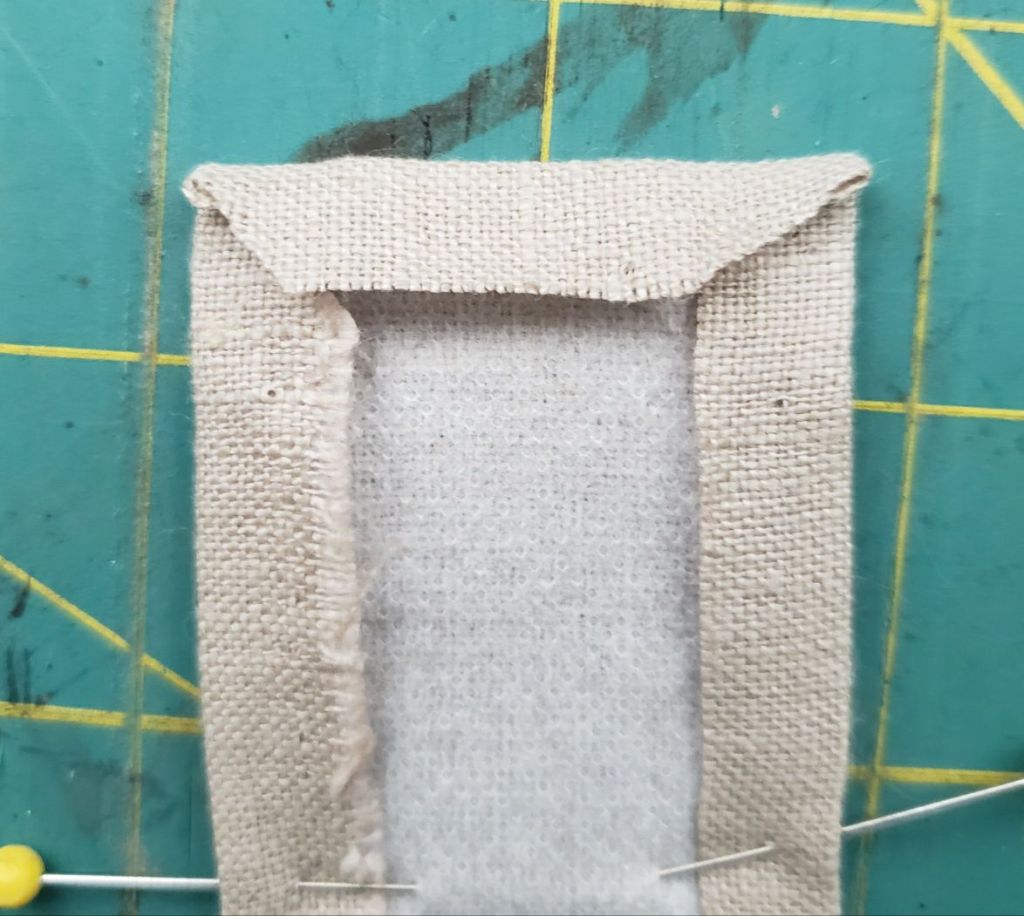
Now at last it’s time to pin and sew in place – try to get as close to the edge as you can—1/8” or so looks great!

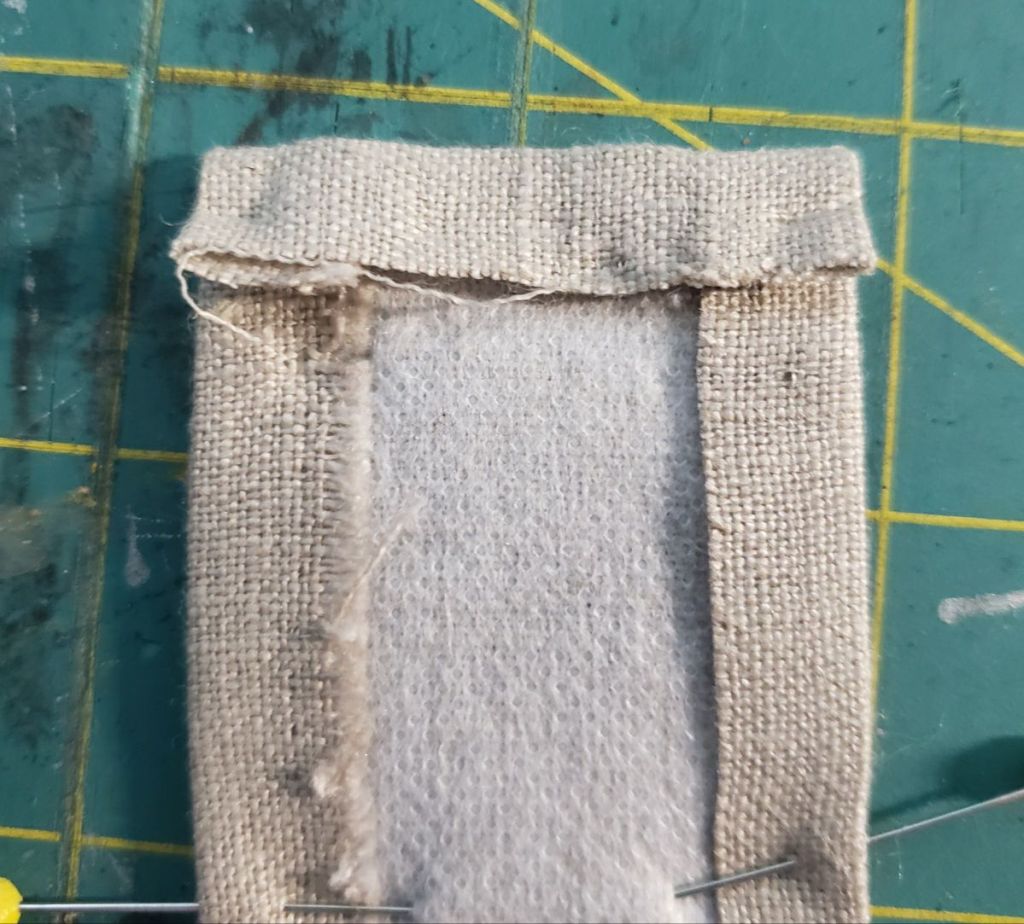
Finally, don’t forget to tie off your threads and pull them to the inside for a finished appearance.

What an improvement–it’s amazing what a difference hiding the buttons makes to the in-universe appearance of this piece! Next month, we’ll show you a second button-hiding method that will make a whole other arena of clothing available for your costuming uses! Be sure to check back and check it out!
Thanks to my supporters – writing and photographing these how-to’s takes a lot of time and energy! If you’ve learned something from this post, please consider supporting my work via ko-fi, or with a small donation below! Thank you!
Make a one-time donation
Make a monthly donation
Choose an amount (US dollars only – unfortunately, I cannot currently accept Republic credits 😉
Your contribution is greatly appreciated and will help me continue to bring you this kind of in-depth material! Alternately, you can support my work via ko-fi as well.
Your contribution is greatly appreciated and will help me continue to bring you this kind of in-depth material! Alternately, you can support my work via ko-fi as well.
DonateDonate monthly