Welcome back to another installment of the Galactic Style Guide, the series where we break down the ‘Star Wars aesthetic’ in order to help you create a more authentic ‘outer persona’! By audience request, in this entry we’re trying something different! This time around, we’re not looking at a specific category of clothing or gear, but a specific “character class”! Just like with our regular Style Guide entries, the idea is still to analyze examples of a single theme to see what they share – and therefore see what the most common and representative elements are, hopefully to prevent the spread of reenactorisms! As always, there’s plenty of room in the Galactic Costumed-Arts Spectrum for fun and personal interpretations, but if (as I believe is entirely possible) the GFFA is to be seen as a legitimate setting for high-quality living history, it really pays to take a page from the reenacting playbook and try to represent the common galactic populace as faithfully as possible…which means sticking to the visual ‘rules’ of the setting. What are those rules for mechanic/technician characters? Let’s find out!
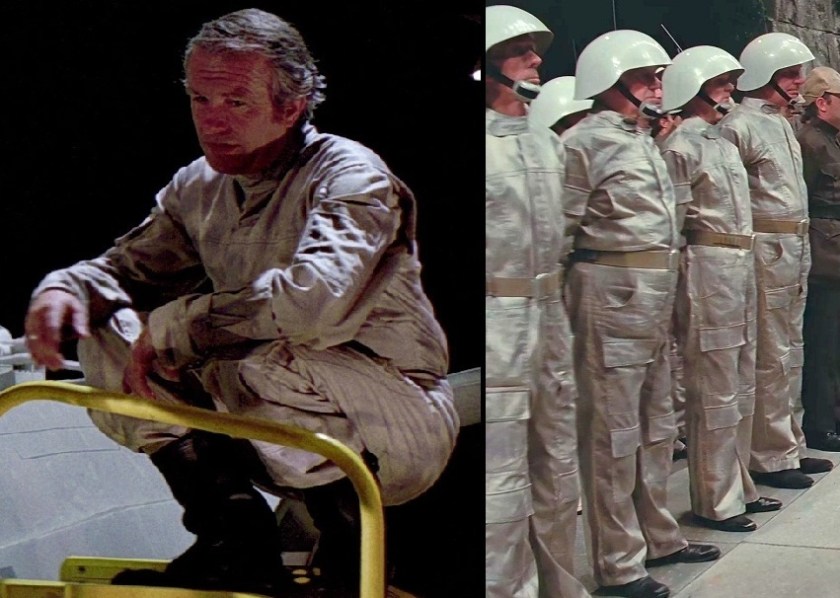
As the majority of SW titles continue to revolve around face characters from the more ‘exciting’ (i.e. typically martial) character classes (Jedi, fighter pilots, bounty hunters, troopers, etc.), we have a relatively small pool to draw from, at least when it comes to live-action. Our first look at this type of character comes from act three of SW’77, with our heroes’ arrival at the Rebel base on Yavin IV.