
(Part 1 of the Wookiee shield project here)
With wroshyr trees a little hard to come by in this galaxy (likewise quality hardwood lumber in the 10”x4”x8’ range), I’m keeping the woodworking on hold until I can acquire an ideal piece of wood (paying in terms of time by choosing ‘I want it Good’ and ‘I want it cheap’ from the Designer’s Paradox). However, the Wookiee battle shield also includes some metal (‘bronzium’) elements which I thought I could try my hand at fabricating in the meantime. This gave me another reason to play around with sculpting wax, and I continue to enjoy working with this material. When I take my time to get a piece sculpted and cleaned up, I am extremely pleased with the feeling of having made a real prototype.

This top bit, which we’ll call the mouthpiece, I first sculpted in victory wax, embedded it in a lump of Play-doh, and poured plaster over it.


Once the plaster had cured, I peeled the wax out (after leaving it on the furnace vent for a day to soften up).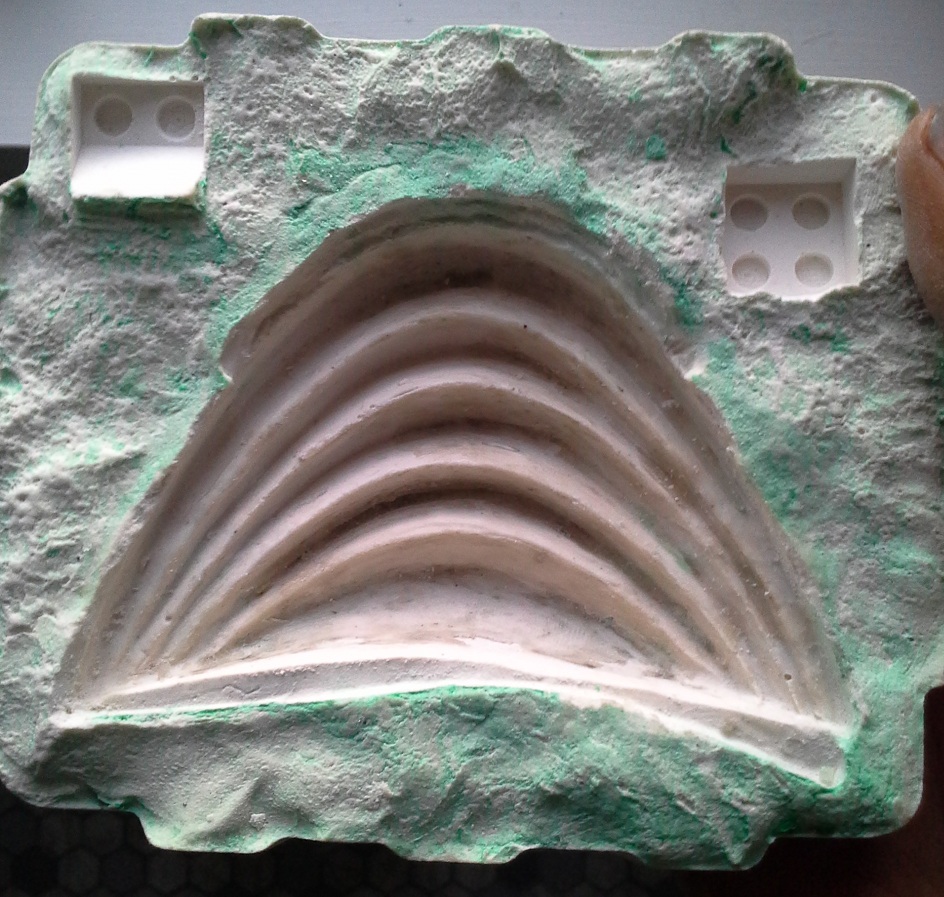
Next I brushed the last bits of wax out the crevices, and held it over a candle to soot-ify it as a release agent. I then had to cast a master. I wasn’t going to waste my good food-safe tin pewter on this, so what’s the next cheapest, fast-melting, carcinogenic, base metal…which I have almost a hundred pounds of sitting around? LEAD of course!
I melted up a small ladle full of old roof flashing and poured it into the mold. I could hear it bubbling away, telling me that there was still some residual moisture in the plaster: it’s something to be aware of…if you aren’t going to use properly-cured mold materials, you’d sure better be wearing protective equipment (which you should be wearing, anyway)!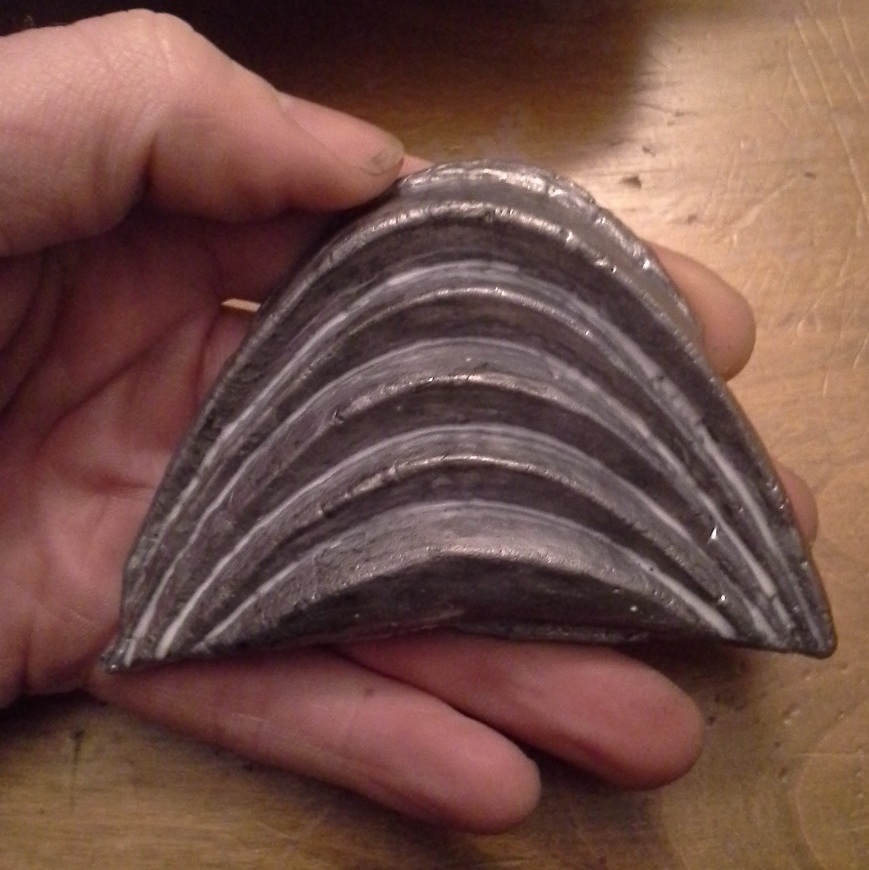
I had just a hair less lead melted than I needed to fill the entire mold, so some of the areas around the edge didn’t get fully cast, but instead of melting down and repouring I will likely just add onto the lead master and fix some imperfections with Bondo.
At present, since my plan is to only make a partial shield—the top four feet or so where the most interesting carving is—I would also have to sculpt the first bronze strap; luckily this was a much easier shape to sculpt. The shield appears to be constructed around a bent member to which the front and back surfaces are whipstitched, so I included ½” tubes on either end of the strap that this would fit into. (pictures of this piece are boring but forthcoming)
The end result of both of these sculpts will be sent out to my fellow craftsman friend Eric of Meuleurgy, who will create new stronger molds before casting the pieces in actual bronze.
Researching, crafting, and writing this site takes a lot of time and energy. If you’ve enjoyed reading, have learned something from this post, or will use it as inspiration for a future project, please consider supporting my work with a small donation below! Thank you!
Make a one-time donation
Make a monthly donation
Choose an amount (US dollars only – unfortunately, I cannot currently accept Republic credits 😉
Your contribution is greatly appreciated and will help me continue to keep this blog ad-free!
(Alternately, you can support my work via ko-fi as well.)
Your contribution is greatly appreciated and will help me continue to keep this blog ad-free!
(Alternately, you can support my work via ko-fi as well.)
