
After acquiring a Swedish winter cap for $10, I had originally planned to do just a few simple modifications—removing the superfluous rear buckle, replacing the fake fur of the flaps with wool, and then giving it a dunk in some brown RIT dye.
However, the more I looked at the Pfilbee Jhorn pictures, the more I felt that simply relying on the similar shapes of his hat and the Swedish one wouldn’t be enough to make this an authentic piece.


I wanted to be able for my hat to do double duty: to be worn with the flaps up for everyday 2018 use, and then pop the flaps down for GFFA use…so I really wanted to get closer to the multilayered hat as seen in the concept art.
I thought it would be fairly easy to copy the piece that wraps around the hat’s front (above the visor), and the ribbed panel on the back would be simple to make (especially after making the big ribbed panel for my ‘donut’ helmet). But as I mocked up these additions, I realized that the construction of the stock Swedish hat wouldn’t capture the look of the Jhorn hat—since, as originally a piece of concept art for the Episode VI Rebel commandos, Jhorn’s hat is built along the lines of the ANH-15 flight cap, with a central rectangular strip that runs from front to back and curved panels above the ears. The Swedish cap, on the other hand, uses a much different pattern, with a half-oval-ish panel on the top of the head and pieced panels around the back and sides.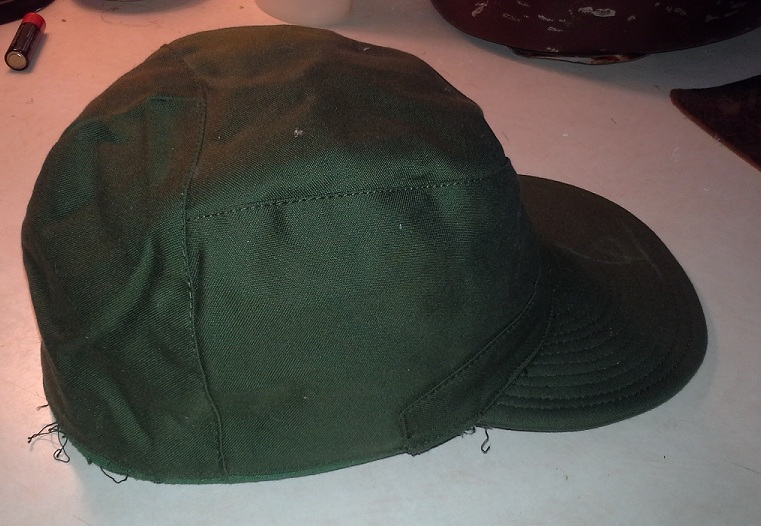
I also wasn’t sure how well the dark green hat would take the dark brown dye…I’d had good results doing the same with my backpack, but it took multiple applications, and it was already a good deal faded to start with. The more I thought about it, the more I came to the realization that I was going to have to make Pfilbee Jhorn’s hat from scratch, using the skeleton of the Swedish hat.
As planned, I first removed the fake fur and replaced it with a few layers of wool (scavved from an East German Ushanka, a WW2 British canteen carrier, and an old sweater) quilted together. I then drafted patterns to represent the additional pieces.
I dug through my box of fabric scraps, and found two khaki lower trouser legs I had sliced off to make work shorts last summer. These were 97% cotton and 3% spandex, so they would have a nice stretch that would forgive any mistakes if I didn’t give enough seam allowance, while also stretching to hopefully get closer to the shape of Jhorn’s rounded, form-fitting hat. (As I later found out, the stretch did introduce some wrinkles when it came to recovering the visor).
As the new material I was using was only minimally textured (and too often fan-made Star Wars costumes don’t have enough weight, I backed each of my new pieces with medium-weight wool as well, and edged them with a band of linen (originally a drawstring) which I stained with strong tea. These wool layers also add additional insulation, which is important since the whole point of the hat is to allow for coldweather activities!
I completely disassembled the hat’s brim to get at the inner stiffening layers, and then recovered the brim in the khaki material and brown linen for the underside. I replaced the chin buckle’s fabric strap with one of goat leather, and stitched this in place on the flap. Once all of these elements had been fabricated, it was finally time to assemble and show off!


As it turned out, all that remained of the original Swedish hat was the inner insulated liner, chin buckle/snap, and the stiffening inner layers of the visor. The three layers of wool in the flaps provide great insulation, but still allow me to fold the flaps up for modern wear with the added forehead ring removed:


Were I to undertake this project again, I would’ve done a few things differently:
-using a heavier khaki material–like the plentiful scraps I had leftover from my donut helmet (uncovered only after I had finished this project!)
-only using two layers of wool for the flaps, instead of three.
-better copying the shape of the curvy panels that are added to the flaps.
-making the rear ribbed panel shorter (to better match the original artwork), while extending the neck coverage and shortening up the flaps a bit.
Overall, aside from the wrinkles in the visor (probably only noticeable to perfectionist Me), I’m generally very pleased with the final product, and am looking forward to getting some quality use out of it!
Researching, crafting, photographing, and writing this site takes a lot of time and energy. If you’ve enjoyed reading, have learned something from this post, or will use it as inspiration for a future project of your own, please consider supporting my work with a small donation below! Thank you!
Make a one-time donation
Make a monthly donation
Choose an amount (US dollars only – unfortunately, I cannot currently accept Republic credits 😉
Your contribution is greatly appreciated and will help me continue to keep this blog ad-free!
(Alternately, you can support my work via ko-fi as well.)
Your contribution is greatly appreciated and will help me continue to keep this blog ad-free!
(Alternately, you can support my work via ko-fi as well.)

One thought on “Crafting the Coldweather Hat”